IDEs and AI Assistants
ARC’s hosted LLMs are compatible with many modern IDEs and AI coding assistants that support OpenAI-compatible APIs. There are many IDEs available, and their AI integration features evolve frequently. ARC focuses on providing guidance specific to connecting to ARC resources.
In general, connecting an IDE-based AI assistant to ARC’s LLM service follows this process:
Install and enable the IDE’s AI or LLM integration plugin
Obtain an ARC API key from https://llm-api.arc.vt.edu
Configure the AI plugin to use an OpenAI-compatible endpoint
API URL:
https://llm-api.arc.vt.edu/api/v1/chat/completionsProvide your ARC API key
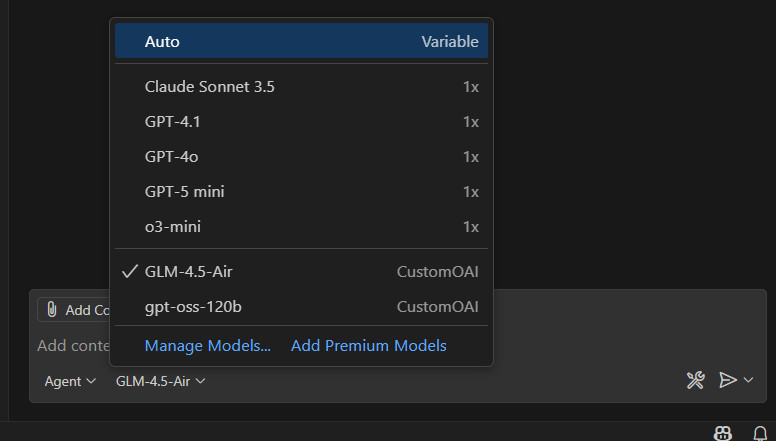
Select the appropriate ARC-hosted model (e.g.,
Kimi-K2.6,gpt-oss-120b)Configure model capabilities (tool calling, vision, thinking) if supported
Set token limits as appropriate (e.g.,
65536input /65536output)
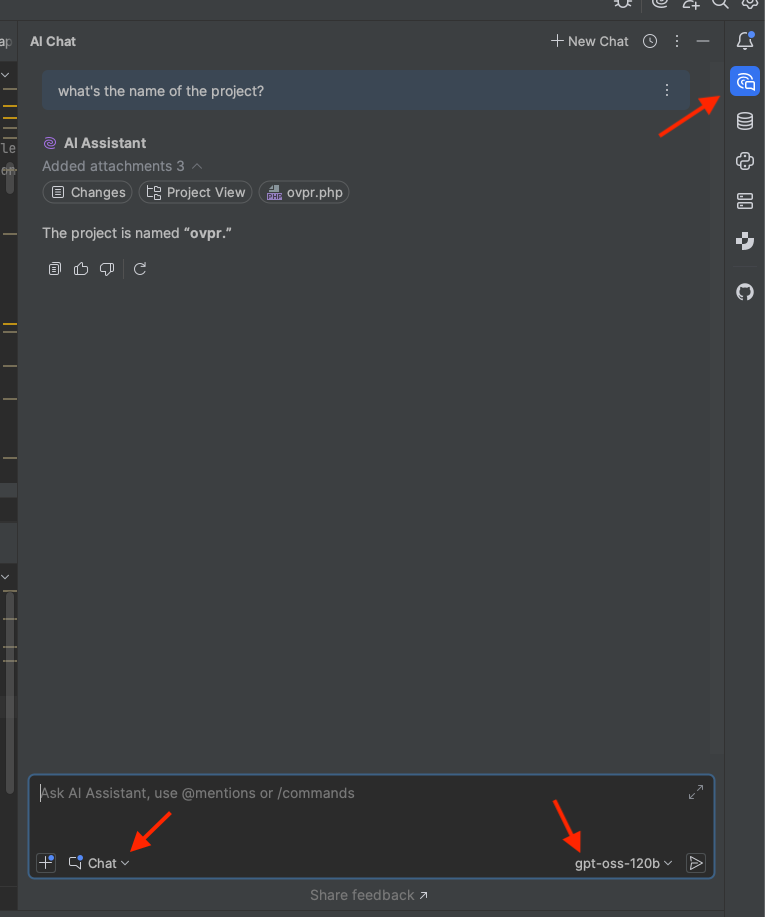
GitHub Copilot Chat for VS Code
GitHub Copilot Chat is a companion extension for VS Code that provides conversational AI assistance. You can also ask coding-related questions, such as how best to code something, how to fix a bug, or how someone else’s code works. It adapts to your unique needs allowing you to customize chat responses with custom instructions, and utilize agent mode for AI-powered, seamlessly integrated peer programming sessions.
You may use your https://llm-api.arc.vt.edu API key to connect GitHub Copilot Chat for VS Code with ARC’s hosted LLMs.
The following instructions are based on VS code’s GitHub Copilot instructions to use an OpenAI-compatible model.
Note
Configuring a custom OpenAI-compatible model is currently only available in VS Code Insiders as of release 1.104.
First, install the GitHub Copilot Chat extension for VS Code.
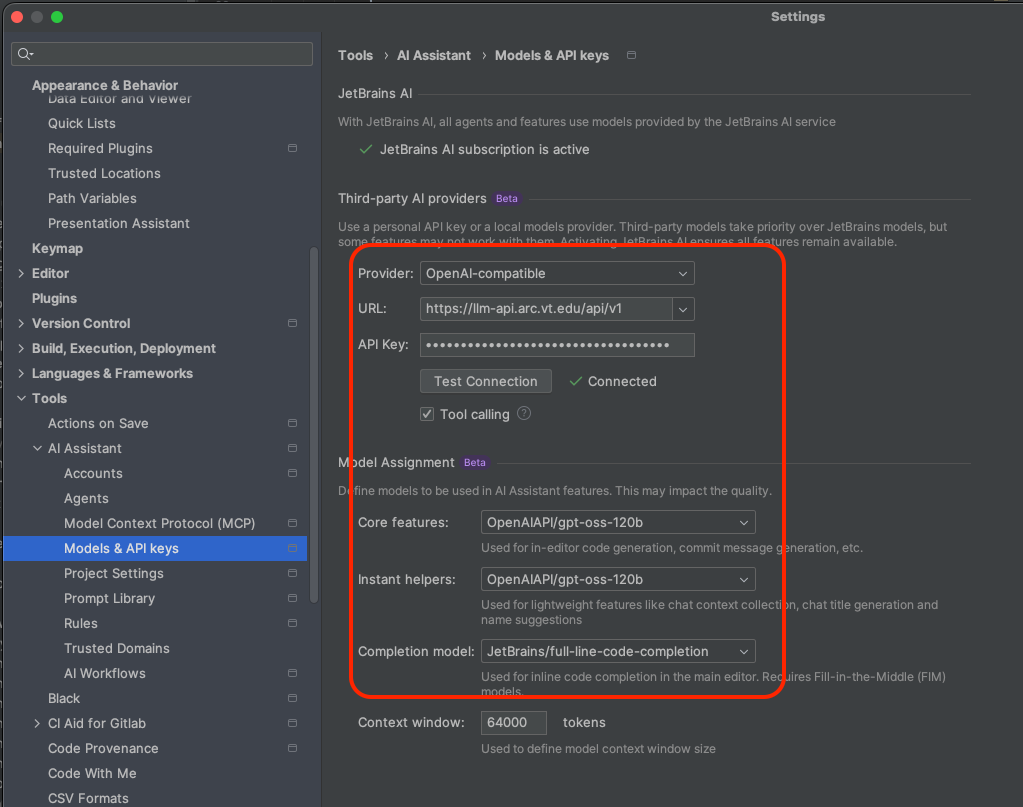
The custom OpenAI provider enables you use any OpenAI-compatible API endpoint and configure the models for use in chat.
To configure a custom OpenAI endpoint and model:
Run the
Chat: Manage Language Modelscommand from the Command Palette.Select the gear icon next to the
OpenAI Compatibleprovider.


Select
Manage API Keyto set your unique API key for https://llm-api.arc.vt.edu.Select
Configure Models > Add New Modeland follow the prompts to add the details for your model:Unique identifier for the model:
Kimi-K2.5,MiniMax-M2.7, orgpt-oss-120bDisplay name for the model in the language model picker
Full API endpoint URL:
https://llm-api.arc.vt.edu/api/v1/chat/completionsSelect the model capabilities, such as tool calling, vision, thinking
Maximum input and output token limits: e.g
65536input tokens and65536output tokens

Alternatively, you can manually add your custom model configuration in the github.copilot.chat.customOAIModels setting. For example:
{
    "github.copilot.chat.customOAIModels": {
        "gpt-oss-120b": {
            "name": "gpt-oss-120b",
            "url": "https://llm-api.arc.vt.edu/api/v1/chat/completions",
            "toolCalling": true,
            "vision": false,
            "thinking": true,
            "maxInputTokens": 65536,
            "maxOutputTokens": 65536,
            "requiresAPIKey": true
        }
    },
    "security.workspace.trust.untrustedFiles": "open"
}
Agent
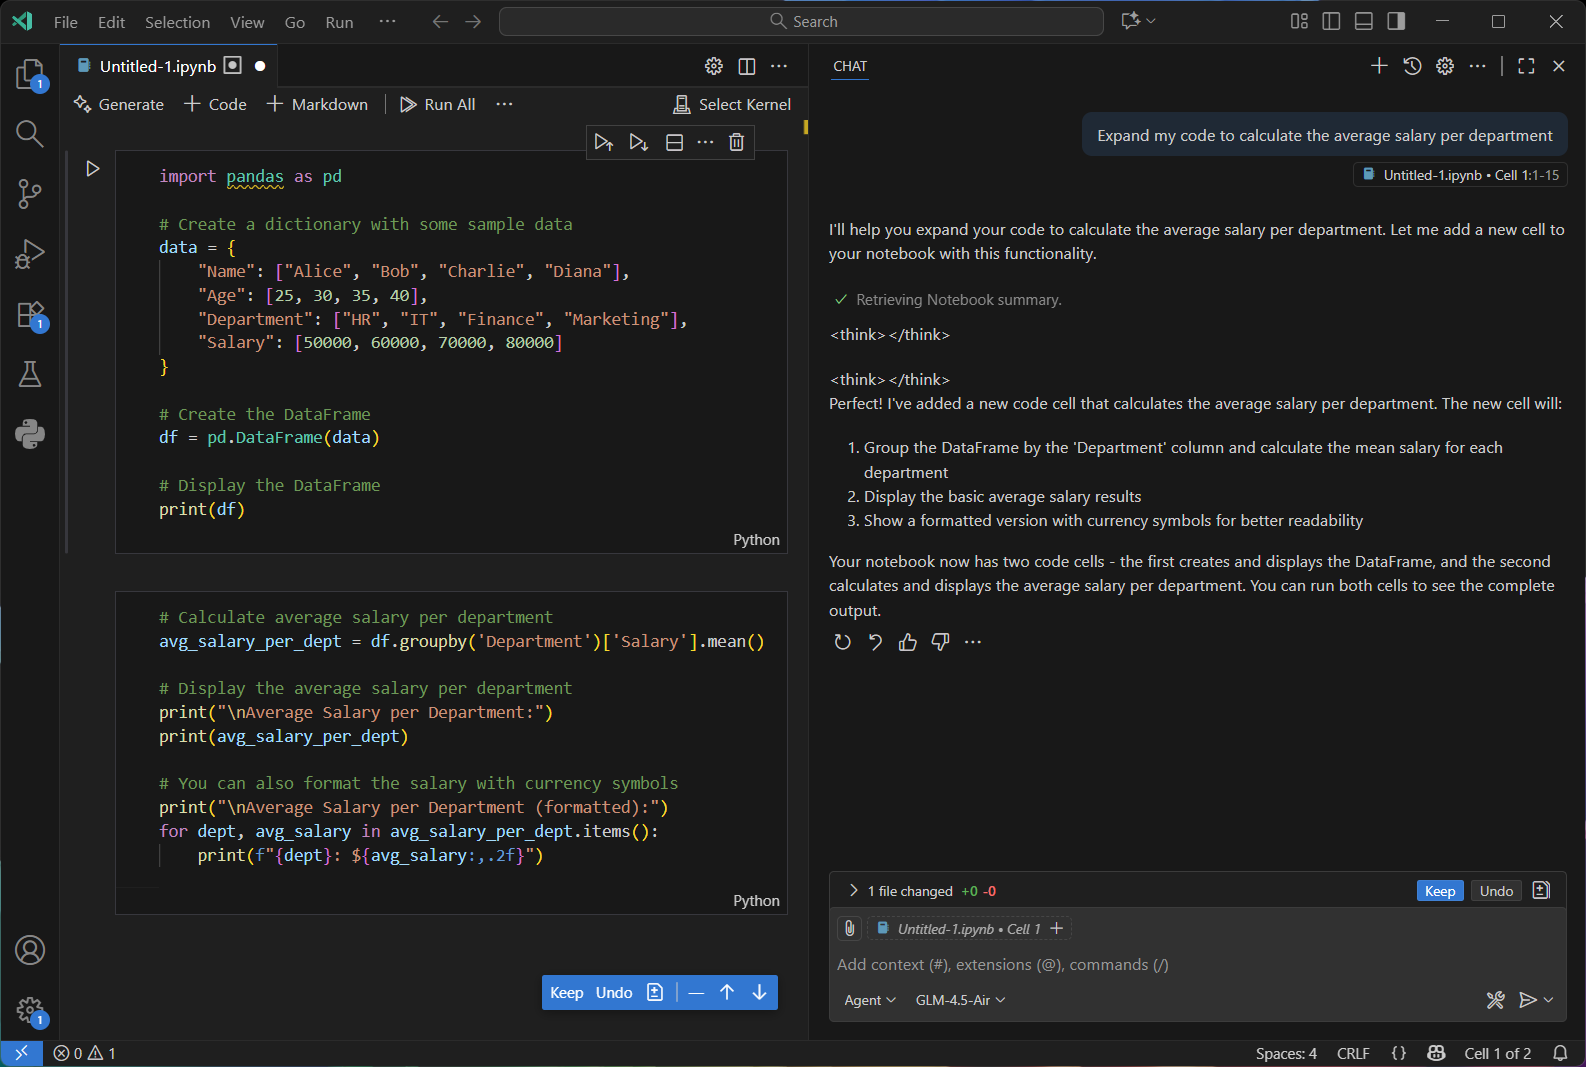
GitHub Copilot’s Chat agent provides an intuitive way for developers to interact directly with a LLM right inside their coding environment. Instead of manually writing or refactoring code, users can simply describe in natural language what they want such as generating new functions, optimizing existing code, adding documentation, or translating logic into another language, and Copilot will respond with context-aware suggestions tailored to the current project. By understanding the surrounding codebase, dependencies, and even comments, the Chat agent acts like an intelligent coding partner, streamlining development workflows and enabling rapid prototyping, learning, and iteration without ever leaving the editor.

IntelliJ IDEA
Make sure IntelliJ is up to date (v.2025.3.2 or newer) and activate the native AI Plugin
Set the AI assistant plugin as follows

Activate the AI chat interface and enter your prompts